Which laser for ceilings, tiles and facades?

In this article
- Which laser suits your work?
- Suspending a ceiling: determine the finished height first
- Tiles: the line comes after planning the grid
- Facade and outdoor work: detection at the target point is what counts
- Drywall, kitchens and furniture: which references do you need?
- Slope and gradient: an additional task
- These buying decisions prevent bad purchases
- Frequently asked questions
For a suspended ceiling you need a common height reference. For tiling, planning the grid comes on top. On a facade, daylight and working distance can make a receiver necessary. This guide helps you choose the right laser type for the task.
Which laser suits your work?
| Task | Reference needed | Suitable starting point |
|---|---|---|
| Suspending a ceiling, transferring a height all around | Horizontal all-round plane | 360° cross-line laser with a suitable bracket |
| First row on a tiled wall | Planned horizontal line, vertical axis if needed | Cross-line laser; 4D if a second horizontal reference is useful |
| Facade, outdoor heights, long distances | Detectable height reference at the target point | Rotary laser with a compatible receiver |
| Profiles and right-angled room axes | Horizontal and vertical planes | 3×360° cross-line laser |
| Inclined reference at a defined angle | Controlled slope | Suitable slope function and matching adjustment accessories |
Suspending a ceiling: determine the finished height first
The laser does not decide how far down the ceiling has to be suspended. First clarify the planned build-up, the installation space needed and the height. Check the existing ceiling at several points: a single corner of the room does not have to be the lowest point.
- Define the desired finished ceiling height and the reference edge of the mounting system.
- Make a clear reference mark and set up the self-levelling laser on a stable base.
- Match the horizontal plane to the defined reference. If you use an auxiliary offset, document it and apply it identically everywhere.
- Transfer the height reference to the walls you need and check the marks.
- After moving the set-up, check again against the original reference.
An all-round plane is practical here because you see the reference on several walls. For a single mounting height you do not automatically need four planes. Make sure the bracket and device do not obstruct the projection and that the device stays undisturbed during installation.
As a starting point you can compare the Omniliner G3D and the XLiner 3D. What matters is your mounting height, fixing options and the scope of delivery you need.
Tiles: the line comes after planning the grid
A straight line alone does not guarantee a good joint pattern. Measure the area, plan whole tiles, joints and edge pieces, and only then determine the height of the first row. Decide whether the line marks an edge or another auxiliary reference.
A 4D laser is helpful if the second horizontal plane or the position close to the floor gives you an additional usable reference. For a single row on one wall, a simpler device may be enough. The laser does not make a crooked wall flat and does not replace the necessary preparation of the substrate.
The full calculation and procedure can be found in Aligning tiles with a laser: first row and uneven walls. Models for the additional horizontal plane are the Fliesen 4D and the Smart 4D Plus.
Facade and outdoor work: detection at the target point is what counts
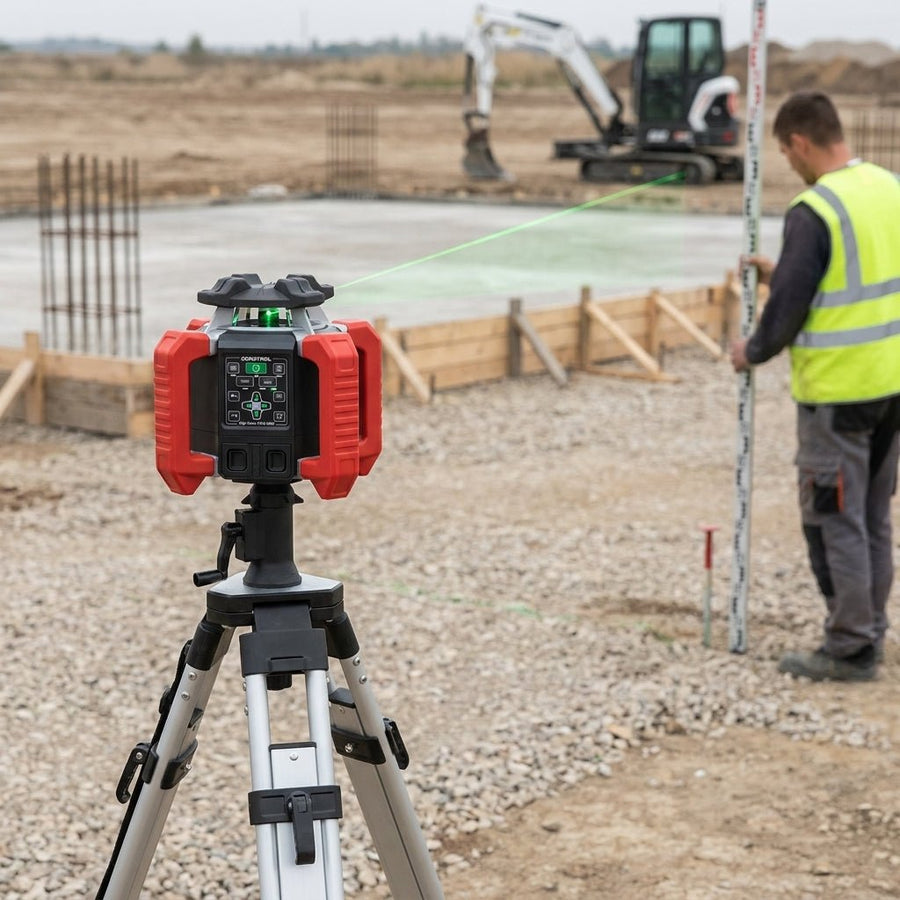
In sunshine a line is often hard to see, even with a green laser. For transferring heights over larger areas, a rotary laser with a compatible receiver therefore becomes interesting. The receiver detects the plane at the target point and supports height transfer, for example on a levelling staff.
Compare the working range with receiver, accuracy, protection rating, the required horizontal or vertical operating mode and the scope of delivery. For range specifications, check whether the manufacturer states the radius or the diameter. They are different distances.
The range includes, for example, the Roto HVG 600 and the Roto HVG 800. When a receiver is needed is explained in the guide to rotary lasers with a receiver.
Drywall, kitchens and furniture: which references do you need?
For several profiles, room axes and right-angled references, two vertical planes make the set-up easier. A single kitchen run, on the other hand, often mainly needs a horizontal mounting reference. Here too, check the wall and the floor independently: a laser line shows the reference, not the flatness of the surface.
For individual wall tasks, 2D devices may be enough. For room axes compare 3D devices, and for an additional horizontal reference 4D devices.
Slope and gradient: an additional task
A tilted line in locked mode is not yet a defined percentage. If an angle is specified, you need a suitable setting and check. The TruSlope (slope and lock function explained) is an option for tasks with an angle display. For drainage, the direction, heights and the entire build-up of the surface must also be planned.
These buying decisions prevent bad purchases
- Only choose more planes if you will use the additional references.
- Plan the bracket and working height together with the device.
- For outdoor work, check receiver compatibility.
- Distinguish between an angle display and a locked tilt mode.
- Check the accuracy according to the manual before precise installation work.
Frequently asked questions
Do I need a 4D laser to suspend a ceiling?
For a common height reference, one horizontal all-round plane can be enough. A second horizontal is worthwhile if you can actually use it.
Which laser helps with tiling?
For a row on a wall you need suitable horizontal and, if necessary, vertical references. 4D makes certain additional references easier but does not replace grid planning.
Is green always better for a facade?
Green can be more visible. In bright daylight, working with a suitable receiver is often what decides it. Compare the actual operating modes.
Can I make a wall straight with a laser?
It can provide a reference for checking and aligning. An uneven wall still has to be prepared with suitable construction measures.
Choose according to the work step: transferring heights, aligning axes or setting a slope. Then compare the device, set-up and accessories. The cross-line laser buying guide helps with the further selection.