Measuring moisture: understanding readings and checking walls

In this article
Your moisture meter shows a number. Does that mean the wall is dry or damp? That can only be answered when material, measuring method and display scale match. This guide shows how to compare suspicious spots sensibly, recognise the limits of the measurement and choose a suitable tool.
The short answer: a reading needs a suitable scale
A percentage reading for wood is not automatically comparable with a percentage for concrete. Some tools show a relative comparison scale, others a material-related moisture content. Air humidity and building material moisture also describe different quantities. First read in the manual what the selected setting actually outputs.
| Reading | What it describes | What you can conclude from it |
|---|---|---|
| Material moisture in % | Material-related value according to the intended measuring method | Compare with suitable specifications for material and method |
| Relative comparison scale | Differences in the sensor signal | Look for conspicuous zones in the same material |
| CM value or CM equivalent | Result, or a tool-specific approximation, of a particular method | Do not equate an equivalent with an actual CM test without checking |
| Relative humidity in % | Water vapour in the air relative to temperature | Assess the indoor climate; it does not show wall moisture directly |
That's why there is no universal percentage above which every wall counts as critical. Specifications for applying coatings and floor coverings refer to particular materials and test methods.
Pins or non-destructive measurement?
A resistance meter works with electrodes and evaluates electrical conductivity. This is suitable for appropriate materials and spot measurements; pins leave holes. Material setting, temperature and conductive components can affect the result.
A non-destructive tool captures the material via an electric or electromagnetic field. This lets you scan areas quickly for conspicuous zones. The signal can also be affected by construction, density, contact and metal parts. It does not show an exact three-dimensional shape of a damp spot.
| Your task | Sensible approach | Limit |
|---|---|---|
| Checking wood at individual points | Suitable wood mode, pins if necessary | Take wood species and measuring conditions into account |
| Scanning a plastered wall for conspicuous zones | Non-destructive comparative measurement on the same construction | A conspicuous value does not yet explain the cause |
| Tracking the development at a fixed spot | Repeated measurement with the same method | Changing conditions can distort the comparison |
| Screed is to be approved for a floor covering | The test method intended for this | A quick area scan does not replace the required test |
Checking a suspicious wall in six steps
- Clarify the construction. Are you measuring on paint, plaster, wood or a multi-layer component? Don't evaluate different materials in one common grid.
- Choose the right setting. Set material mode, scale and, if necessary, reference calibration according to the manual.
- Find a comparison zone. If possible, use an inconspicuous spot with the same construction. Even this zone is not a proven dry value without further testing.
- Mark measuring points. Divide the suspicious area into a grid. Note position, reading and tool; press the sensor on in the same way each time.
- Repeat conspicuous readings. Check individual high values again. Metal, cables, corners and changing construction can affect the signal.
- Interpret the result. A pattern can justify further investigation. The cause and the necessary action don't follow automatically from the number.
An example: readings around a window reveal
You measure with a relative scale at nine points on the same plastered wall. Six points give similar low values, three neighbouring points at the reveal clearly higher ones. The useful finding is: There is a reproducibly different sensor signal in this zone. Not: “The wall contains exactly a certain amount of water there.”
Document the points, check the construction and measure again under comparable conditions. With room temperature and humidity you can also describe the indoor climate. A suspected moisture problem in a cold zone can be narrowed down by further investigation; a cold area alone does not prove dampness.
Typical mistakes and their consequences
| Mistake | Why the result is misleading | Better |
|---|---|---|
| Comparing wood and building material values | The scales have different bases | Only evaluate comparable materials and modes |
| Measuring only the highest point | A single spot can stand out because of construction or contact | Use a grid and comparison zone |
| Comparing readings from different tools directly | Sensors and scales may differ | Carry out a series with the same method |
| Deriving readiness for floor covering from falling values | A trend is not an approval test | Follow the specifications of the material and covering |
Which CONDTROL tool suits your task?
- Hydro Test: if a conductometric spot measurement suits your material.
- Hydro Check: for non-destructive checks of suitable materials and searching for conspicuous areas.
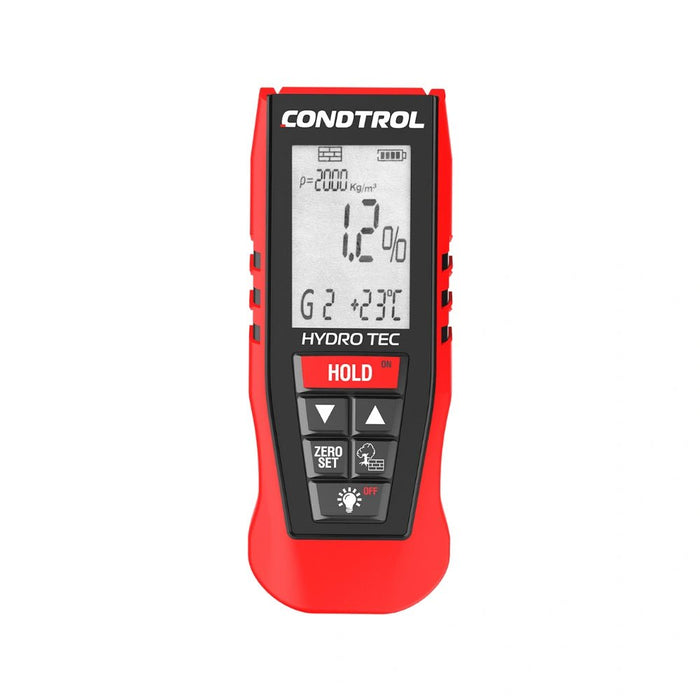
- Hydro Tec: for material-related measuring tasks according to its intended settings.
- Hydro Pro: if the supported additional sensor functions are relevant alongside material measurements. Check the scope of delivery you need before buying.
Choose by material, measuring task and evaluation. More functions make sense when you can actually use and document their results.
Frequently asked questions
What moisture reading is normal for a wall?
That depends on material, measuring method and scale. A general percentage for all walls would be misleading. Use material-related specifications and suitable comparative measurements.
Can a moisture meter detect mould?
It can help you look for moisture anomalies. Mould and its cause are not directly proven by it.
Can I determine moisture through a tile?
Whether and how a tool can assess a multi-layer construction depends on the model and method. A measurement on a tiled surface is not automatically a clear measurement of the material underneath.
Why does the tool show more at a corner?
Contact area, component geometry, construction or metal may differ. Repeat the measurement according to the manual and compare suitable areas.
For a useful measurement: first understand the scale and material, then compare several points. If you want to investigate temperature anomalies as well, read the guide to thermal imaging cameras in construction.