Checking a cross-line laser: wall test, deviation and service
In this article
- Checking, calibrating and adjusting: three different tasks
- Before the wall test: check these five points
- How does the test between two walls work?
- What does ±0.2 mm/m mean in practice?
- Checking the vertical line independently
- The result fluctuates or is outside the limit
- What does the service team need from you?
- Frequently asked questions
The laser line no longer matches your markings? First check the set-up, then the accuracy. You can check a cross-line laser with simple references. Internal adjustment, on the other hand, is a job for the service team. Here you will find out which check helps you and how to document a conspicuous result.
Checking, calibrating and adjusting: three different tasks
| Task | What happens? | Your next step |
|---|---|---|
| Check accuracy | Compare the line with a suitable reference | Possible on site according to the device manual |
| Calibrate | Determine and document the deviation under defined conditions | Contact the service team for traceable measurement results |
| Adjust | Change the alignment of the measuring system | Do not adjust any internal screws yourself |
Automatic self-levelling aligns the system within its working range. It does not detect every change in the optical adjustment. After a fall, an accuracy check therefore makes sense, even if the line shines steadily.
Before the wall test: check these five points
- Place the laser on a firm surface or a stable tripod.
- Select self-levelling mode for horizontal and vertical references. The locked tilt mode is not suitable for this.
- Clear any out-of-levelling-range warning and let the tool settle.
- Avoid direct air flow, vibrations and sharp temperature changes.
- Have the model, accuracy specification and the corresponding test instructions ready. Limits for a different laser are no substitute.
Read markings at the centre of the line and use a fine pencil. The outer edge of a wide line does not give a clear measuring point.
How does the test between two walls work?
Two opposite walls form a fixed reference distance. What matters are the markings on both walls and the second set-up of the tool. Simply turning it by 180° with just one unknown marking is not enough to determine a reliable deviation.
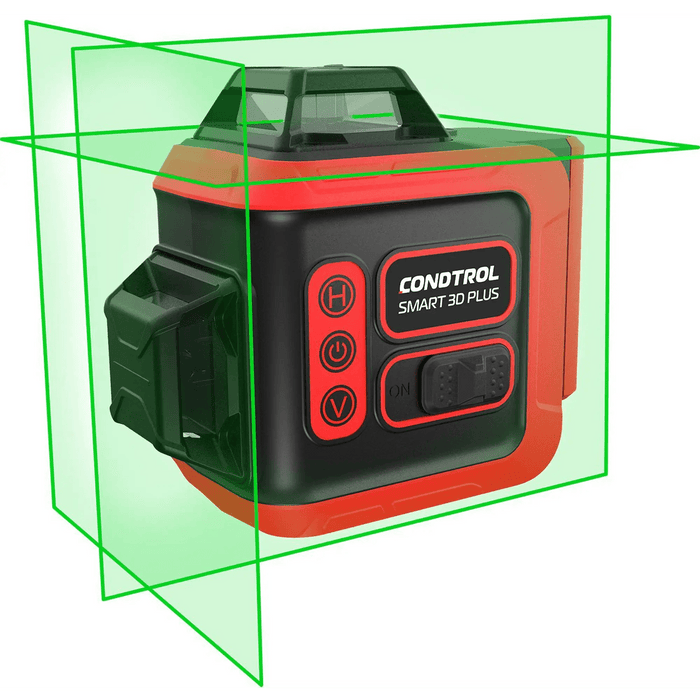
Example according to the CONDTROL QB Green manual: Use two walls 5 m apart. First set up near wall A and mark the horizontal line as A1. Turn by 180° and mark B1 on the opposite wall. The manual also provides for checking the line when turning right and left. Then set up near wall B, mark B2, turn back and mark A2. The vertical distances A1–A2 and B1–B2 are compared. The limits given apply to this set-up and this model.
You will find the complete sequence with the corresponding sketches and limits in the QB Green operating manual, section on accuracy checking. For a different model, use its manual. An adjustment deviation must not simply be derived from a single measured difference by halving it.
What does ±0.2 mm/m mean in practice?
As a simple illustration: 0.2 mm per metre corresponds mathematically to 1 mm over a single distance of 5 m. A test set-up with several positions can, however, combine several error components. Its permissible overall result follows from the prescribed method. So use the limit from the test instructions and not simply the result of this multiplication.
Checking the vertical line independently
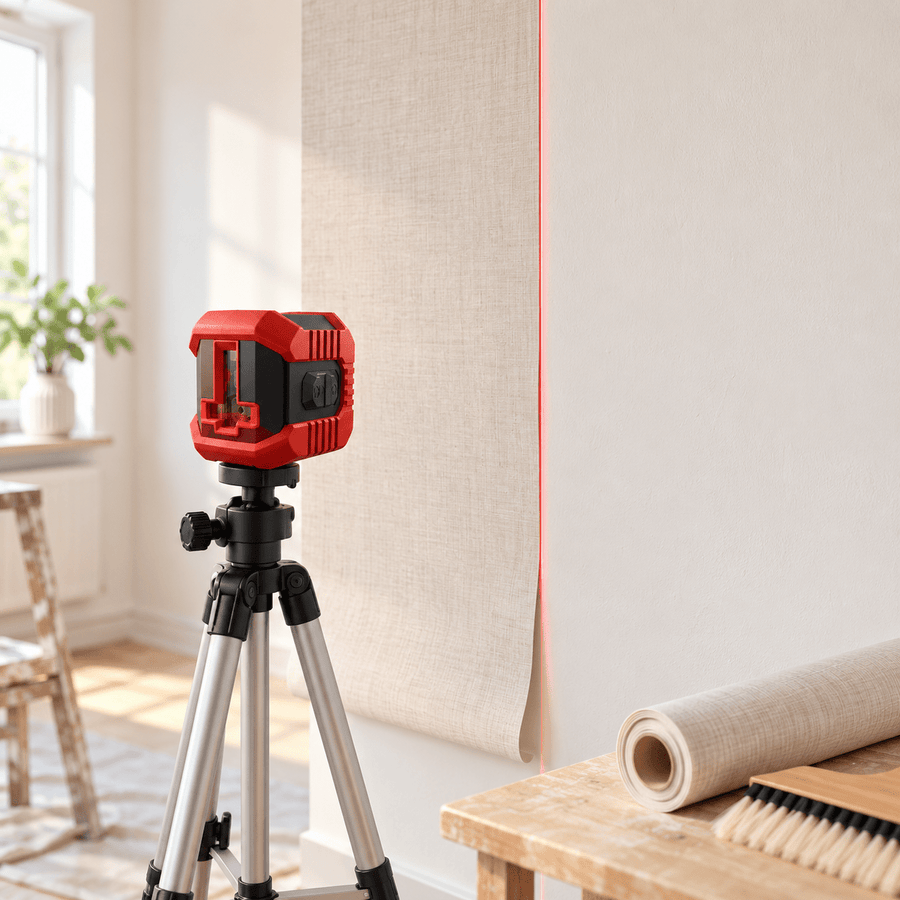
A still plumb line can provide an independent vertical reference. Align the line with the lower reference according to the device manual and compare the course over the prescribed length. Wait until the plumb bob is still. A room corner or door frame is not a reliable reference: it may itself be out of true.
An unremarkable vertical test does not automatically prove that the horizontal line and the angle between several planes are also correct. Several 360° planes must be checked using the tests intended for them.
The result fluctuates or is outside the limit
| Observation | Check first | Then |
|---|---|---|
| Line drifts or trembles | Surface, tripod, air flow, levelling warning | Re-check after stabilising |
| Markings are hard to compare | Line centre, pencil width and lighting | Repeat the measurement with a clear reference |
| Deviation recurs | Test procedure and limit from the correct manual | Document the result and contact the service team |
| Tool has been dropped | Visible damage and functional behaviour | If in doubt, have it checked before further precision work |
What does the service team need from you?
Note down the model, the test method used, the wall distance, the markings and the measured differences. A photo of the set-up and mention of a fall or transport damage help with the assessment. Ask for a check, adjustment if necessary and a suitable report. A repair order and a calibration are different services.
Frequently asked questions
Can I calibrate the laser myself?
You can check the accuracy according to the manual. Leave internal adjustment work to the service team. An arbitrary wall comparison is not documented proof of calibration.
How often should I check the accuracy?
Follow the manual and your type of use. A new check makes sense after a fall, after conspicuous results or before work with tight tolerances.
Can I use a spirit level instead of a plumb line?
Only a suitable, sufficiently accurate reference helps. A short, unknown profile can hide errors over a long distance. Follow the intended test set-up.
Is working self-levelling enough?
No. It aligns the system but does not replace checking its measuring accuracy.
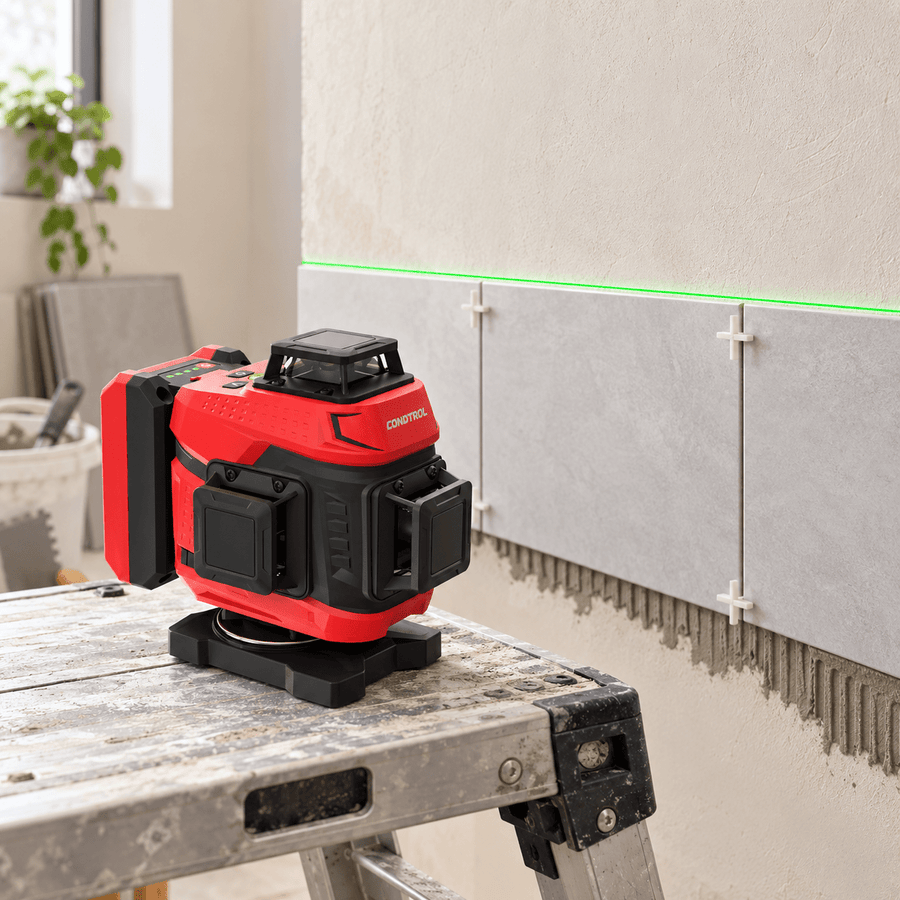
Before the next installation: check the reference first, then set your working marks. You will find application examples in the guides on aligning a row of tiles and on hanging the first strip of wallpaper straight.